
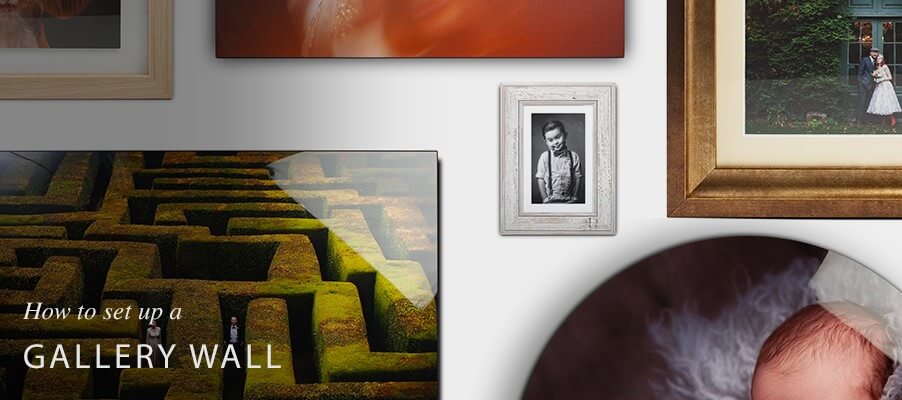
Gallery walls are a gorgeous new trend in home decor, but they can easily be adapted to feature on your studio walls too. These are a fantastic way of showing off your photography and your product packages. Here’s some key tips for creating a gallery wall in your studio.
1. Group according to a theme

If you offer different styles or genres of photography, it may be best to group your gallery walls in these ways. Jumbling up your genres may leave clients confused when they look at your gallery wall when the aim of this style of decor is to create a unique display that’s pleasant to look at.
Having a wall full of your family portraits and an adjacent wall full of wedding photography makes it easier for you to guide clients through your studio and show them several examples of your work in this field. It also helps clients gain a better understanding of what products might suit their images best.
2. Measure up and plan ahead

For a gallery wall to really have an impact, it really has to be planned out and assembled in one go, rather than built up over time. Adding frames and wall products as and when you feel like it means there will be stages where you gallery wall looks incomplete and just looks like an unfinished display.
Gather together all the images and products you want to feature on your gallery wall, measure the space they will take up and plan out your display on the floor before hanging. This will help you get a better sense of spacing and design and crucially means you can rearrange and switch about images before you hammer a single nail into the wall!
Please note, when you’re ordering a Loxley Colour frame, we base the size on the acrylic size rather than the overall size of the frame. You’ll need to take this into account when creating your gallery wall. For more information check out our framing guide.
3. Choose your products

As a professional photographer, you’ll likely already have a selection of products you offer to clients. But if you’re just starting out professionally, or are choosing to revamp your product packages at the same time you decorate your studio, you should strongly consider what you want to offer and if these will look good as part of your gallery wall.
Loxley Colour has a huge selection of frames and wall products that would be perfect for a gallery wall. Have a look through our stunning collection, decide what you think suits your photography style and your typical client’s budget, and then start to design your gallery wall for the studio.
Featuring products from your signature packages means clients can see the quality of your photography and how a product might look should they choose to add one to their package. You can make your gallery wall more than just a modern feature in the studio, it can also be a vital sales tool.
4. Be precise

Even after planning the layout of your gallery wall on the floor, it is still important to get the look perfect. A spirit level will come in handy for this. We’d also recommend lightly drawing the outline of the frames and wall products at their position on the wall before you begin hanging. This means you’ll know exactly where to start adding nails and your gallery wall will look exactly as you anticipated when you finally step back and admire the finished look!
5. Don’t be afraid to mix it up!

Fashions change, your average clients’ wage can rise or fall, and your photography can grow. Even when your gallery wall is finished and looking great on the wall, never be afraid to switch out a component if you feel it’s not looking as good as it did a few months back.
If you spot a new growing trend, there’s nothing wrong with switching out an old frame or wall product to replace with this new style. If your photography has grown a lot since you built your gallery wall, you can easily switch out parts and replace them with newer examples of your work. Just make sure your new display is the same size!
You might also be interested in…
Gallery Print – A slimline wall product that appeals to clients for all occasions.
Framing – There are so many frames to choose from for your gallery wall.
Clusters & Splits – Perfect for smaller gallery walls and statement wall decor.